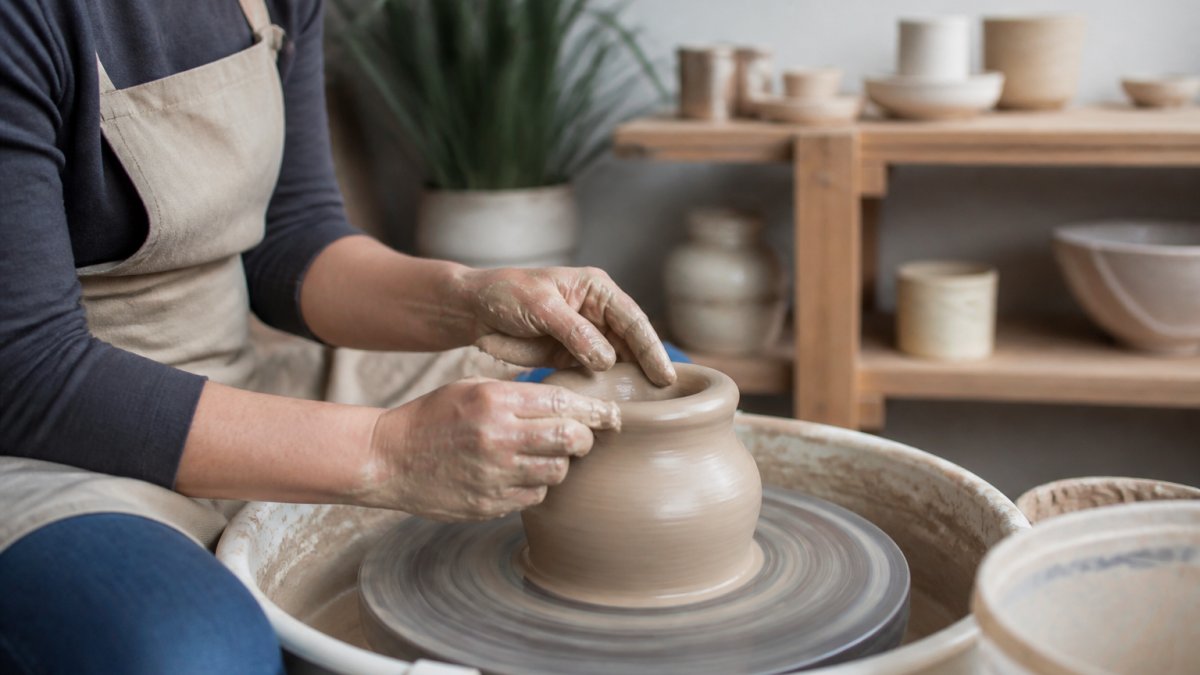
 ultimate-guide
Beginner Pottery Wheel Throwing Techniques for 2026
Table of Contents
- What Beginner Pottery Wheel Throwing Actually Requires
- Pottery Wheel Throwing Tools for Beginners
- How to Center Clay on a Pottery Wheel
- Opening, Pulling Walls, and Trimming a Foot Ring
- Beginner Pottery Project Ideas for Your First Month
- Troubleshooting Common Wheel Throwing Problems
- Body Mechanics and Ergonomics at the Wheel
- Conclusion
- Frequently Asked Questions
Last Updated: September 29, 2026
What Beginner Pottery Wheel Throwing Actually Requires
Beginner pottery wheel throwing techniques in 2026 start with one truth: the wheel does the spinning, you do the controlling. At Uncle Dave's Art Studio, we've watched hundreds of first-timers sit down convinced the wheel is the hard part. It isn't. Your hands, posture, and patience are.
Pottery Wheel Throwing Tools for Beginners
Pottery wheel throwing tools for beginners fall into a short list: a potter's wheel, clay, a bucket of water, a sponge, a wire cutter, a needle tool, and a rib tool. Everything else is optional for your first month.
- Potter's wheel: A wheel that holds steady torque at low RPM matters more than top speed.
- Clay body: Choose a mid-range stoneware with good plasticity. It forgives beginner mistakes.
- Wire cutter: Slices pots off the bat cleanly.
- Needle tool: Trims rims and tests wall thickness.
- Rib tool: Compresses and smooths surfaces.
- Sponge and water bucket: Keeps clay workable without flooding it.
How to Center Clay on a Pottery Wheel
The best way to learn how to center clay on a pottery wheel is to slow the wheel down and use your whole body, not just your fingertips. Centering is the foundation every other skill rests on.
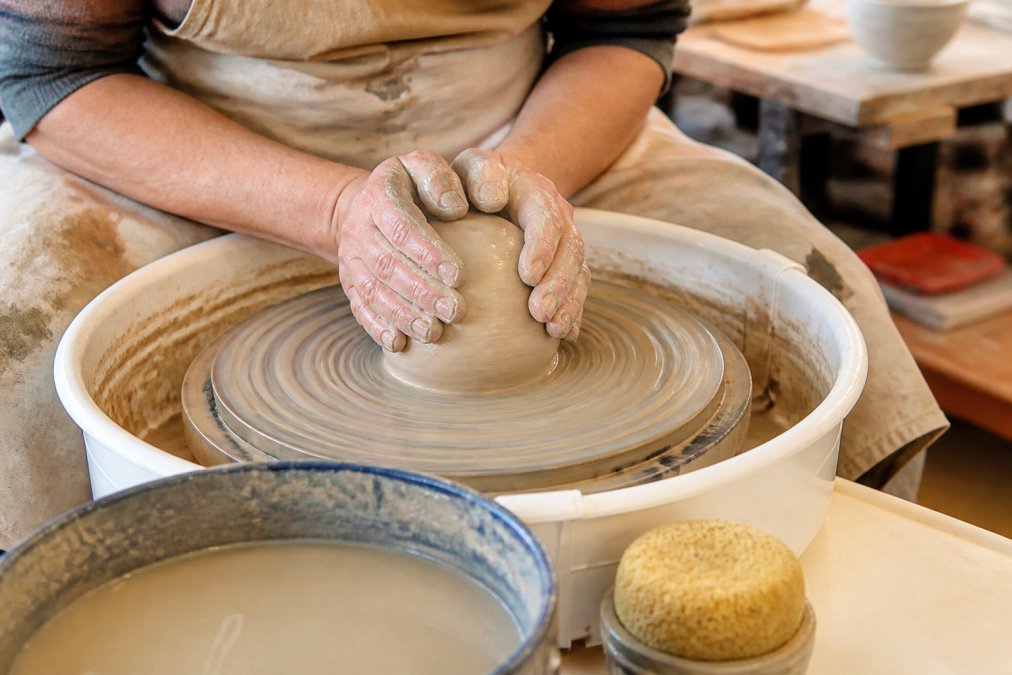
- Wedge the clay first. Wedging removes air pockets and evens out moisture content. Air pockets cause pots to blow apart in the kiln.
- Slap the ball onto the wheel head. Press it down and inward so it sticks.
- Wet the clay, not the wheel. A sponge and a little water keep friction manageable.
- Brace your elbows against your thighs or the wheel pan. This is the step beginners skip, and it is the reason their clay wanders.
- Apply pressure from both hands at once. One hand pushes inward, the other steadies the top.
- Hold until the clay stops wobbling. A centered ball spins without a visible bump.
Coning Up and Down Before You Open
Coning confuses most new potters. You pull the centered clay into a cone, then press it back down, which aligns the clay particles and works out hidden air. Do it two or three times; when the cone presses back down smoothly, you are ready to open the ball.
Opening, Pulling Walls, and Trimming a Foot Ring
Opening, pulling, and trimming are three separate motions, and beginners rush all three. Open the ball by pressing your thumbs into the center, stopping about a centimeter above the wheel head to leave clay for the base.
How Wheel Speed and Hand Pressure Work Together
Wheel speed and hand pressure are a seesaw. Faster rotation lets light pressure shape clay; slower rotation demands firmer pressure to move the same mass. Beginners run the wheel too fast and press too hard at once, which throws the clay off-center. Slow to a moderate RPM and let your hands do more of the work.
Beginner Pottery Project Ideas for Your First Month
| Project | New Variable Introduced | Target Dimensions | Typical Timeline |
|---|---|---|---|
| Cylinder (no handle) | Centering and pulling even walls | 3 in. tall, 3 in. wide, 1/4 in. walls | Weeks 1-2 |
| Open bowl | Opening wider than tall; compression | 5 in. wide, 2.5 in. tall | Week 2 |
| Mug with pulled handle | Joining a handle; rim shaping | 4 in. tall, 3.25 in. wide | Week 3 |
| Planter with drainage hole | Trimming a foot; piercing | 5 in. tall, 4.5 in. wide | Week 4 |
A note on scale. Resist throwing large in month one. A 3 in. cylinder teaches more about wall consistency than a 6 in. one, because the clay moves less and mistakes are easier to feel. Most instructors keep beginners under 2 lb. of clay per piece for the first several weeks.
Troubleshooting Common Wheel Throwing Problems
Troubleshooting common wheel throwing problems comes down to recognizing the symptom and correcting the cause. Most issues trace back to moisture, pressure, or timing. The table below maps each symptom to the variable that is out of balance.
| Symptom | Likely Cause | Correction |
|---|---|---|
| Wobbly walls | Uneven pulling pressure between hands | Slow the wheel; pull in more, lighter passes |
| Collapsing rim | Walls pulled too thin near the top | Leave more clay at the rim; compress the rim with a chamois or rib |
| Pot drifts off-center mid-pull | Insufficient centering before opening | Re-center the whole mass; do not try to fix it mid-pull |
| Cracked base | Opened too deep, or dried too fast | Stop the thumb about 1/4 in. above the wheel head; dry under plastic |
| Spiral ridges inside the pot | Pulling too fast with a wet finger | Reduce water; use a rib to compress after each pull |
| Handle cracks at the join | Joined wet clay to leather-hard clay | Score and slip both surfaces; match moisture levels |
S-Cracks: Why Your First Pots Crack in the Base
S-cracks are the S-shaped fractures that appear in pot bottoms, usually during drying or the bisque fire. They are the most common reason a beginner's first ten pieces end up in the reclaim bucket, and they are almost always preventable. When clay dries, it shrinks, typically about 5 to 8 percent from wet to bone dry. If the base is thicker than the walls, it holds moisture longer and shrinks later, and that differential shrinkage pulls the base apart along the weakest line: usually the spiral left by your thumb when you opened the ball.
Three habits prevent most S-cracks:
- Compress the floor. After opening, press a rib tool flat against the base and compress outward from the center. This aligns the clay particles and erases the spiral.
- Keep the base and walls similar in thickness. A base that is 1/2 in. thick under walls that are 1/4 in. thick is a crack waiting to happen. Aim for the base to be no more than about 1/8 in. thicker than the wall.
- Dry slowly and evenly. Cover the pot loosely with plastic for the first 24 to 48 hours so the rim and the base lose moisture at similar rates. Then crack the plastic gradually over several days.
Clay Recycling and Reclaiming
Beginners waste a lot of clay, and reclaiming it is both a cost saver and the fastest way to learn how moisture content behaves. There are two streams to manage: slop (wet trimmings and throwing water) and bone-dry scraps (failed pots and leather-hard trimmings).
Body Mechanics and Ergonomics at the Wheel
Body mechanics and ergonomics at the wheel decide whether you can throw for an hour or ten minutes. Sit with your spine tall and your elbows braced against your thighs or the wheel pan; that elbow locking transfers force from your core into the clay instead of straining your wrists. Keep your shoulders relaxed and your alignment stacked over the wheel head.
Set your stool height so your forearms sit roughly parallel to the wheel head. Small adjustments here reduce fatigue more than any tool purchase.
Conclusion
Learning to throw takes repetition, and repetition goes faster with guidance and a wheel that holds steady torque. Uncle Dave's Art Studio offers hands-on pottery classes for every skill level, with wheels, tools, and kiln access included, plus an inclusive environment built for first-timers and families alike. If you want to learn wheel throwing fundamentals from a recognized ceramics authority, start with a class rather than a solo setup.
Frequently Asked Questions
What is the easiest thing to throw on a pottery wheel for a beginner?
Start with a low, open form: a shallow bowl, a small dish, or a cylinder under 4 inches tall. Short walls are easier to pull evenly, and there is less clay to compress as it spins. A cylinder is the classic first exercise because every mug, vase, and pitcher is built from one. Expect your first few attempts to collapse. That is normal, and the clay can be wedged and reused.
What are some tips for beginners in wheel throwing?
Keep your clay at an even moisture content before you start, lock your elbows against your body instead of holding them in the air, and slow the wheel down when you open and pull. Compress the rim after every pull to keep it from flaring. Stop while the piece is leather hard, not bone dry, so you can still trim a foot ring without cracking the walls.
How do I center clay effectively on a pottery wheel?
Wedge the clay first to remove air pockets, then slam it onto a bat or wheel head and press it into a cone shape. Brace your forearms on the wheel pan or your thighs, wet the clay lightly, and push inward from both sides while the wheel spins at a moderate speed. The clay is centered when it stops wobbling and your hands feel no push back. Coning up and down two or three times helps.
What essential tools do I need for beginner wheel throwing?
You need a potter's wheel, a wire cutter, a needle tool, a rib tool, and a sponge. A bat system makes removing pieces easier, and a bucket for slip and clay scraps keeps the studio clean. Add a chamois or shammy for smoothing rims and a caliper if you want consistent wall thickness. Everything else can wait until you know which forms you like to make.
How long does it take to learn basic wheel throwing techniques?
Most beginners can center and pull a simple cylinder after two or three focused sessions of an hour or two each. Consistent wall thickness and reliable trimming take longer, often a few months of regular practice. Weekly studio time speeds this up more than occasional long sessions, because muscle memory needs repetition, not marathon practice days.
What are common mistakes beginners make when throwing pottery?
The most frequent mistakes are starting with too much clay, letting the wheel spin too fast while opening, and pulling walls before the clay is truly centered. Others include skipping compression on the rim, trimming too soon or too late, and letting pieces dry unevenly, which causes S-cracks in the base. Wet clay is also a common culprit: clay that is too soft will not hold a wall.