 how-to
How to Start Pottery Without Buying a Wheel
Table of Contents
- Why You Don't Need a Wheel to Start Pottery
- Handbuilding Pottery for Beginners: Core Techniques
- Beginner Pottery Tools and Materials List
- How to Fire Pottery Without a Kiln
- Pottery Classes for Beginners: What to Expect
- Common Beginner Mistakes and How to Avoid Them
- Conclusion
- Frequently Asked Questions
Last Updated: October 7, 2026
Why You Don't Need a Wheel to Start Pottery
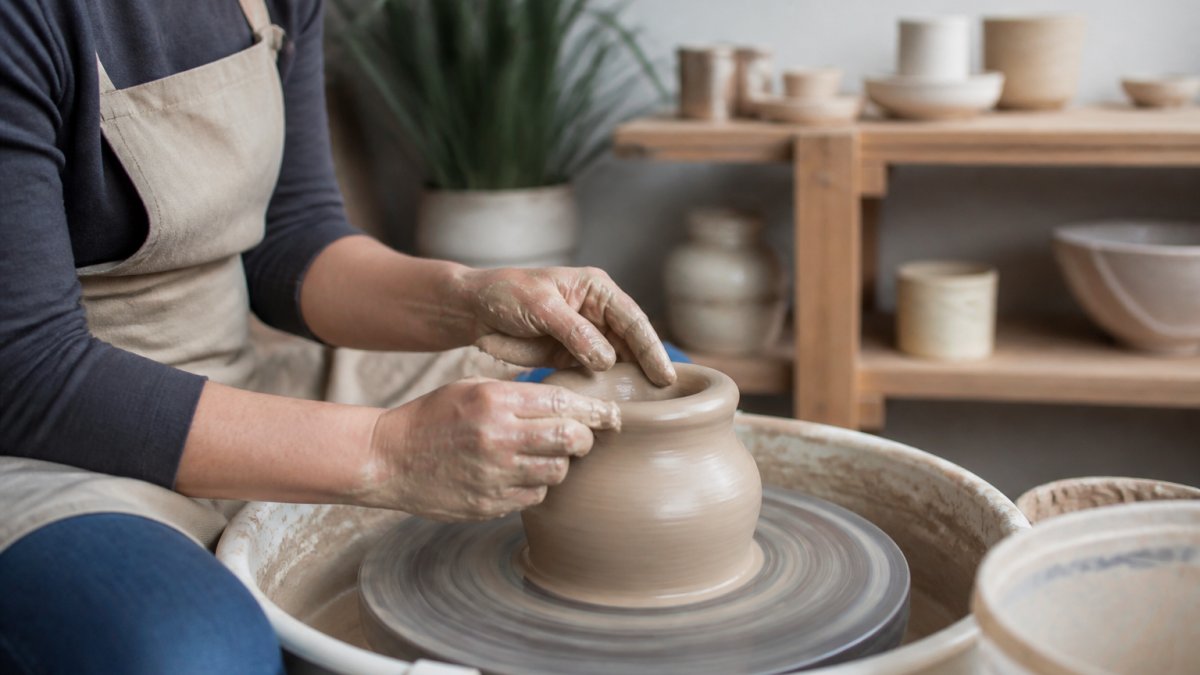
You can learn how to start pottery without buying a wheel, and most beginners should. A wheel is a tool, not a requirement. The craft's oldest methods, pinching, coiling, and slab building, came long before the wheel did.
At Uncle Dave's Art Studio, we teach complete beginners every week, and the first thing we tell them is simple: your hands are the wheel.
Here is the plan we walk every new student through:
- Pick one handbuilding method and learn it well
- Buy a small tool kit, not a full studio setup
- Find a place to fire your work before you make anything
- Take one beginner class to shorten the learning curve
That last point matters more than most guides admit. Let's break down each step.
Handbuilding Pottery for Beginners: Core Techniques
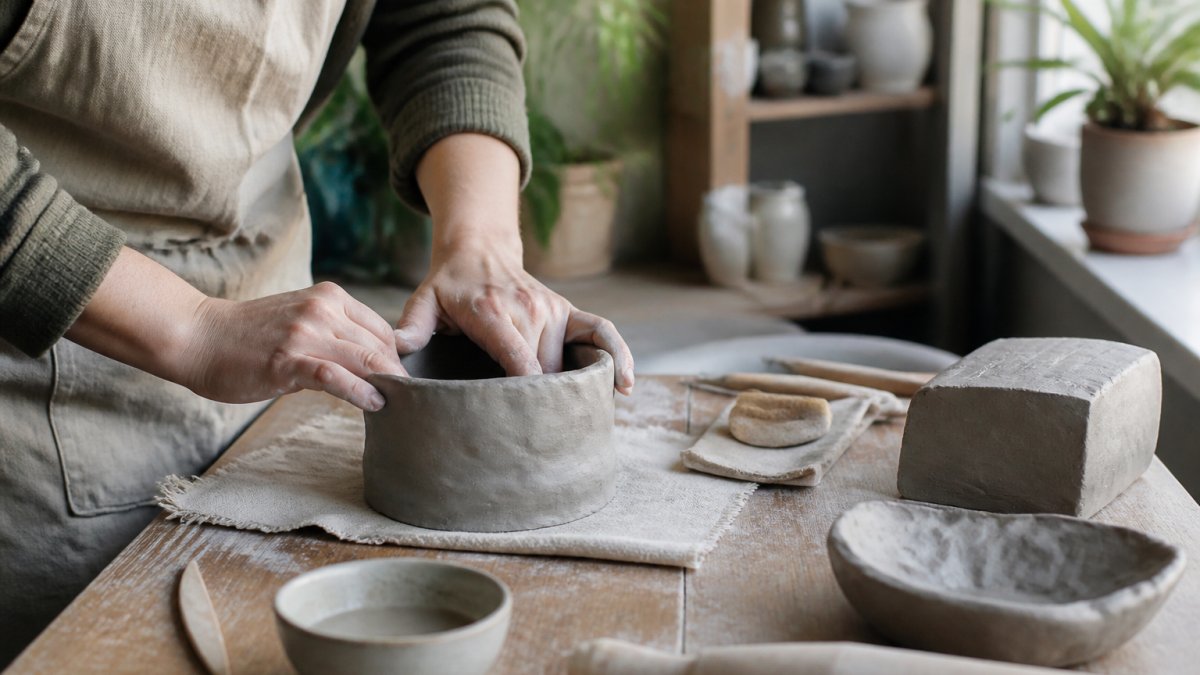
Handbuilding pottery for beginners comes down to three methods: pinching, coiling, and slab building. Each one shapes clay without a spinning wheel, and each suits different projects. Learn all three, then pick your favorite.
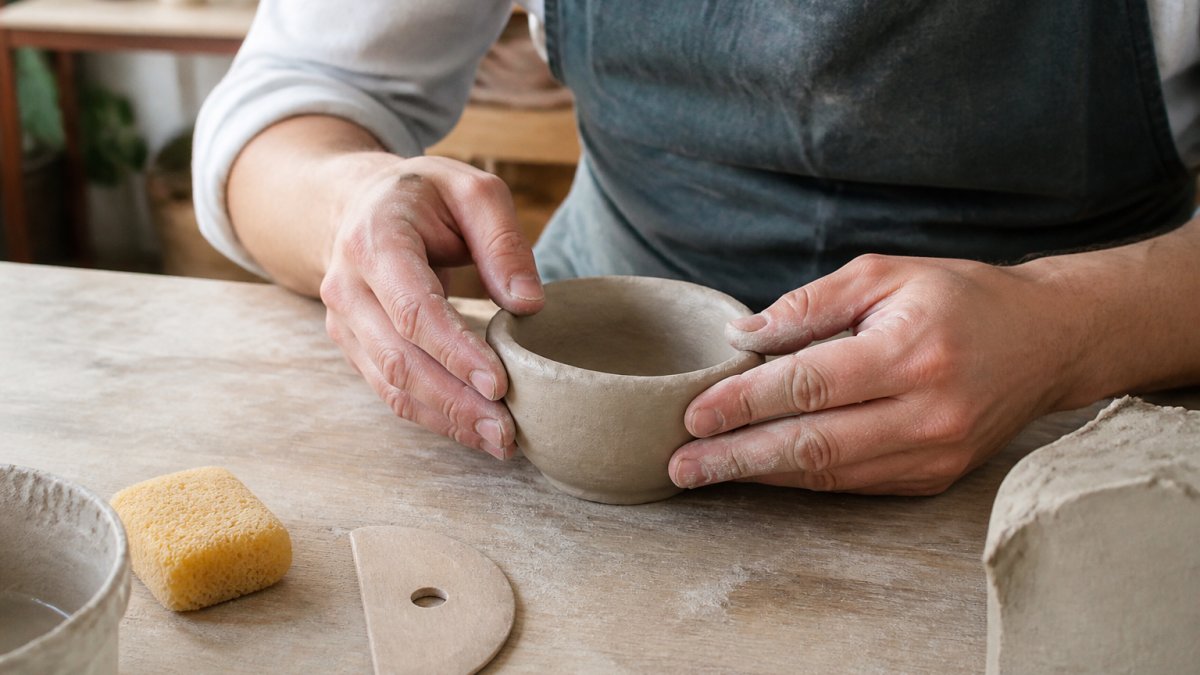
Pinch Pots: Your First Project
A pinch pot is the fastest way to make something real. Roll a lump of clay into a ball, press your thumb into the center, and pinch the walls outward with your fingers. Keep the walls even, about the thickness of a coin.
Your first pinch pot takes ten minutes. It will be lumpy. That is fine. Make five more and you will see the difference.
Coil Building for Taller Forms
Coil building makes taller shapes, like vases and planters. Roll clay into long ropes, stack them in rings, and join each ring by smoothing the inside and outside with your fingers or a wooden tool. Score and slip each joint so the coils bond instead of cracking apart later.
This method is slower than pinching. It is also the most forgiving, because you can fix a wobbly wall at any stage.
Slab Building for Flat and Geometric Shapes
Slab building works for mugs, plates, boxes, and anything with flat sides. Roll clay into an even sheet, cut your shapes, and join the edges. A rolling pin and two wooden guide sticks keep the slab thickness consistent.
One warning: slabs dry fast. Cover unused clay with plastic while you work.
Beginner Pottery Tools and Materials List
You do not need a studio's worth of equipment to begin. A basic beginner pottery tools kit fits in a shoebox and covers everything in this guide. The trick is separating what you actually need from what catalogs want to sell you.
The Essentials (Buy These First)
These five items are non-negotiable for handbuilding. Everything else is a convenience.
| Item | What It Does | Why It's Essential |
|---|---|---|
| Clay (25 lb bag) | Your main material | You cannot practice without it; 25 lb makes roughly 8-12 small pieces |
| Wire clay cutter | Slices clay and removes pots from surfaces | Prevents distorting walls when lifting work |
| Wooden modeling tool (one or two) | Shapes, smooths, and joins clay | Does the work of a dozen specialty tools |
| Sponge | Controls moisture while you work | Manages the single biggest variable in handbuilding |
| Plastic wrap or bags | Keeps clay from drying out | Clay is expensive; dried-out clay is wasted money |
Nice-to-Have (Add Later)
- Needle tool, trims rims and pops air bubbles. A sewing needle in a cork works fine at first.
- Rolling pin or dowel, only needed once you try slab building. A kitchen rolling pin is fine.
- Wooden ribs, help compress and smooth coils and slabs. Improves results but not required to start.
- Bandings wheel or turntable, makes trimming and finishing easier, not possible.
What to Actually Spend
A common pattern among beginners is to spend $40-$80 on a starter kit that includes tools they will not touch for months. A smarter path: buy one 25 lb bag of clay from a local supplier, one wire cutter, one wooden tool, and a sponge.
Buy clay locally when you can. A 25 lb bag is heavy, and shipping often costs more than the clay itself.
Clay Choice for Beginners
For handbuilding, a mid-range stoneware or earthenware clay with some grog (a gritty additive) is forgiving and holds shape well. Smooth porcelain clays are harder to handbuild because they slump and crack more easily. If you plan to make food-use pieces, confirm the clay is rated food-safe after proper firing and glazing, not all clay bodies are.
How to Fire Pottery Without a Kiln
Firing turns soft clay into durable ceramic, and you do not need to own a kiln to get it. Most beginners pay a studio to fire their work. The clay must be bone dry first, or trapped moisture will crack the piece in the kiln.
Here is the sequence:
- Let your piece air-dry slowly, away from direct heat
- Check that it feels room temperature, with no cool spots
- Drop off your work at a studio that fires outside pieces
- Pay a firing fee, usually charged by volume or by the shelf
- Glaze and return it for a second firing
Air-dry clay is a different material. It hardens at room temperature and needs no kiln, but finished pieces stay porous and are not food-safe. For mugs and bowls you plan to use, choose real ceramic clay and get it fired.
Finding a Community Studio or Firing Service
A pottery studio near you likely fires outside work, even if you are not enrolled in a class. Call ahead and ask these questions before you bring anything in:
- What cone do you fire to? Your clay must match. A cone 6 studio cannot fire cone 10 clay, and vice versa.
- Do you accept outside pieces? Some studios only fire student work.
- How is the fee charged? Common models are per cubic foot of kiln space, per shelf, or a flat fee per piece.
- When is the next firing? Studios often fire on a set schedule, so your work may wait a week or two.
- Do you require bisque and glaze firings separately? Most do, and each is a separate fee.
- What are your rules on thickness and dryness? Studios reject pieces that are too thick or still damp because they can explode and damage other work.
Community studios often run open studio hours too, where you pay a session fee and use their space and equipment. That gives you kiln access without buying one, and often access to a slab roller or extruder you would not own at home.
A Low-Cost Path From First Project to Fired Piece
The query is about how to start pottery without buying a wheel, but the real obstacle for most beginners is firing. Here is a practical sequence that avoids buying both a wheel and a kiln:
- Make your first pieces at home using pinching, coiling, or slabs, no equipment beyond the essentials list.
- Take one beginner class at a community studio or art center. You will use their clay, tools, and kiln, and you will learn what a finished piece should look like.
- Ask that studio about outside firing once you have made pieces on your own. Many will fire work from students who have taken at least one class.
- Batch your firings. Kiln space is often priced by the shelf or cubic foot, so firing several pieces at once costs far less per piece than firing one at a time.
- Glaze at the studio if they offer open studio hours, since glazing at home requires materials and a ventilated space.
This path keeps your upfront cost low and defers the two biggest expenses, a wheel and a kiln, until you know pottery is something you want to keep doing.
Pottery Classes for Beginners: What to Expect
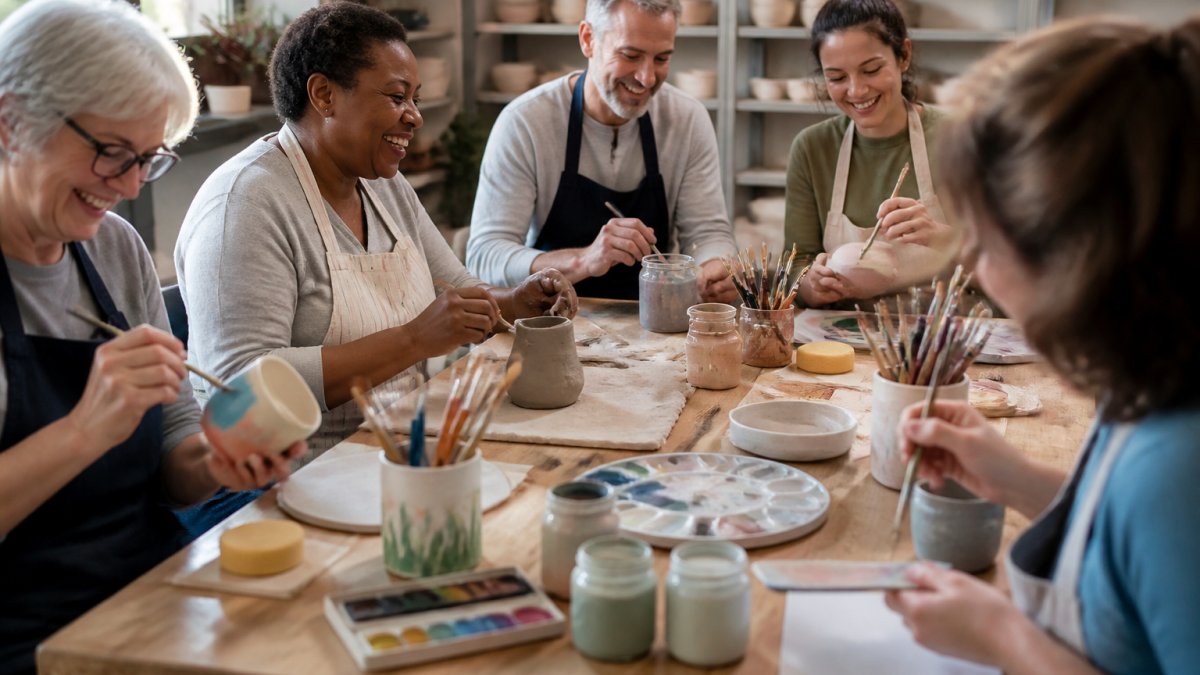
Pottery classes for beginners usually run one to three hours, once a week, and cover handbuilding before the wheel. You will make a few small pieces, learn to join clay properly, and get feedback on what went wrong.
What to expect in your first class:
- An instructor demonstrates each technique step by step
- You work with clay the same day, not after weeks of theory
- Tools and clay are provided
- Your pieces stay at the studio until they are fired
At Uncle Dave's Art Studio, our pottery classes welcome every skill level, from total beginners to returning artists. We keep class sizes small so instructors can help each student by hand.
Common Beginner Mistakes and How to Avoid Them
The same handful of mistakes sink most first projects. Fix these early and your work will hold together.
- Clay too dry or too wet. Work clay at a soft, leather-hard stage. Too dry cracks; too wet slumps.
- Weak joins. Always score both surfaces, add slip, then press and smooth the seam.
- Walls too thin. Thin walls collapse in firing. Aim for even thickness throughout.
- Skipping the drying stage. Rushing the dry can crack a finished piece overnight.
- No firing plan. Find your kiln access before you make anything.
- Using air-dry clay for food use. Air-dry pieces are decorative only.
Conclusion
The hardest part of starting pottery is not the wheel. It is finding clay, a few tools, and a place to fire your work, and that is a much smaller problem than it looks.
At Uncle Dave's Art Studio, we give beginners all three. Our hands-on pottery classes cover pinching, coiling, and slab building from day one, our instructors guide every student at their own pace, and our inclusive studio welcomes all ages and skill levels.
Frequently Asked Questions
Can you make pottery without a wheel?
Yes, you can make pottery without a wheel. Handbuilding is one of the oldest pottery methods and includes pinch pots, coil building, and slab building. These techniques let you create mugs, bowls, vases, and sculptures using just your hands and simple tools. Many potters prefer handbuilding for its direct, tactile approach. You can start at home with a bag of clay, a few basic tools, and access to a kiln for firing.
What tools do I need to start handbuilding pottery?
You need a few beginner pottery tools: a wire clay cutter, a wooden rib for smoothing, a sponge, a needle tool for trimming, and a rolling pin or slab roller for flattening clay. A sturdy work surface and a container for water are also helpful. You can find these tools at art supply stores or online. Many community studios also provide tools during classes, so you can try before you buy.
Can I make pottery at home without a kiln?
You cannot properly fire ceramic clay at home without a kiln. However, you can shape pottery at home and then take it to a community studio or a firing service for bisque and glaze firing. Some studios offer kiln access for a fee. Air-dry clay is an alternative that hardens without firing, but it is not food-safe or waterproof. For durable, functional pottery, you will need kiln firing.
Where can beginners use a pottery wheel without buying one?
Many community studios and art centers offer pottery classes for beginners that include wheel time. You can also find shared studio memberships that give you access to wheels and kilns. Local art centers, community colleges, and recreational programs often have open studio hours. Uncle Dave’s Art Studio provides a welcoming space for all skill levels, with classes and equipment available. Check their website for current schedules and pricing.